Comprehensive Guide to Installing and Maintaining Car Paint Protection Film (PPF)
Introduction
In the automotive world, preserving a vehicle’s beauty and increasing its value is of paramount importance. One popular solution for protecting the car’s paint and body is the use of Paint Protection Film (PPF). In this article, we will explore the fundamental concepts, installation steps, technical tips, and maintenance guidelines related to PPF so you can confidently carry out the process.
Note:
We recommend that you also watch the instructional videos available on our YouTube channel to see the installation process in action.
1. What is Car Paint Protection Film (PPF)?
Paint Protection Film is a thin layer of polyurethane that is applied to the surface of a vehicle. This film is designed to protect the car’s paint from scratches, stone chips, and other environmental damages. Using PPF ensures that your vehicle maintains a clean and damage-free appearance over time.
2. Benefits of Using PPF
- Protection of Car Paint:
Prevents damage caused by minor scratches, stones, and harmful UV rays. - Increased Vehicle Value:
Cars protected with PPF have a superior appearance, which can enhance the vehicle’s resale value. - Easier Maintenance:
Cleaning and maintaining the car’s surface after PPF installation is much simpler.
3. PPF Installation Process: From Preparation to Completion
Step 1: Preparing the Car Surface
- Thorough Cleaning:
Before installation, ensure the car’s surface is free from dust, contaminants, and grease. - Drying the Surface:
After washing, make sure the car is completely dry so that the film adheres properly.

Step 2: Measuring and Cutting
- Accurate Measurement:
Carefully measure the areas on the car where the film will be applied, then cut the film according to the required templates. - Using Pre-Cut Templates:
Some companies offer pre-cut templates for precise PPF cutting, simplifying the installation process.
Step 3: Preparing the Film and Installation
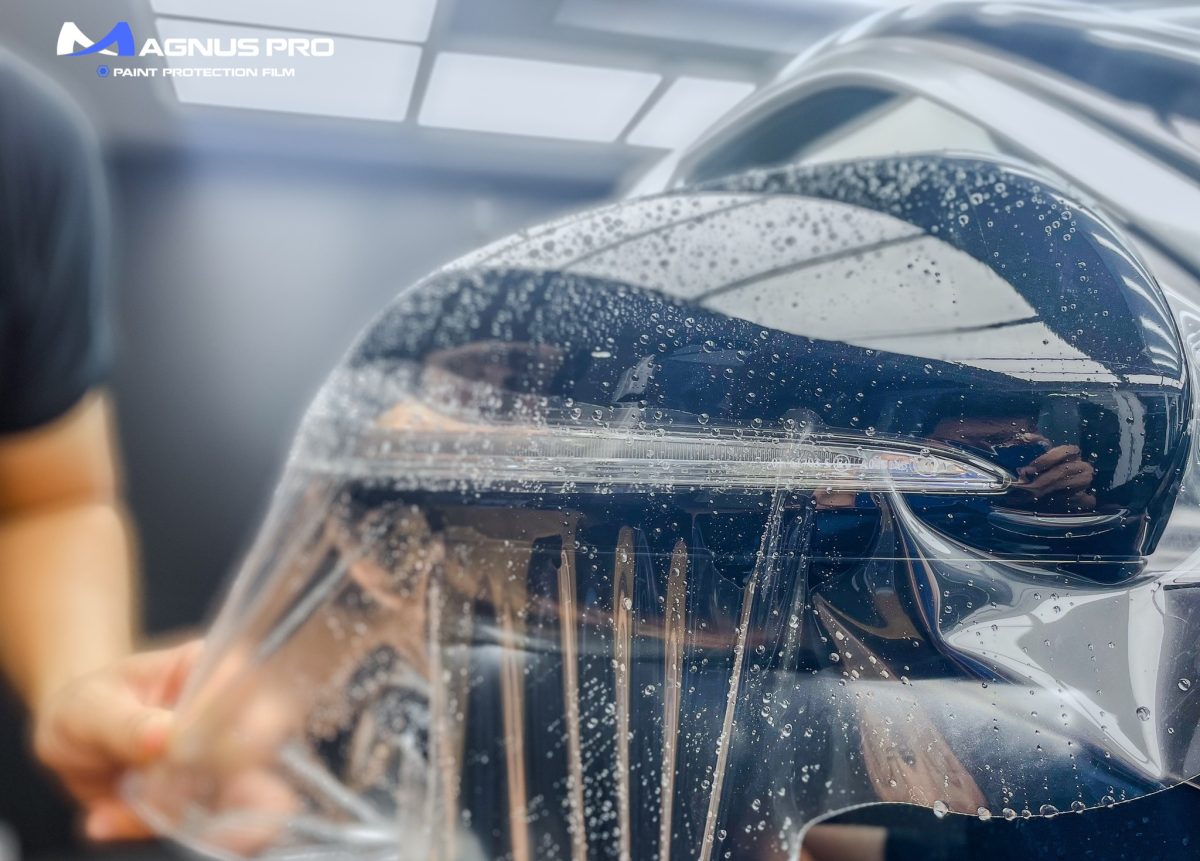
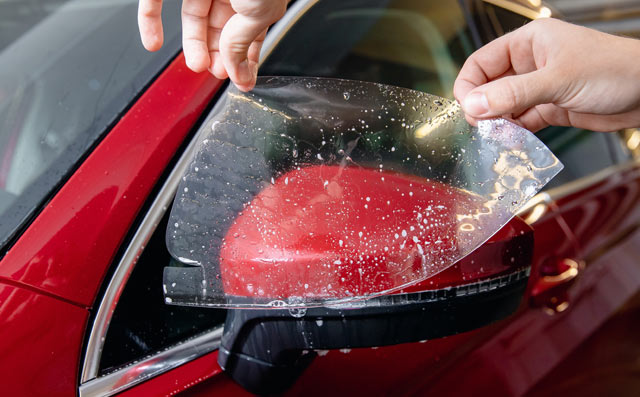
- Using a Soap and Water Solution:
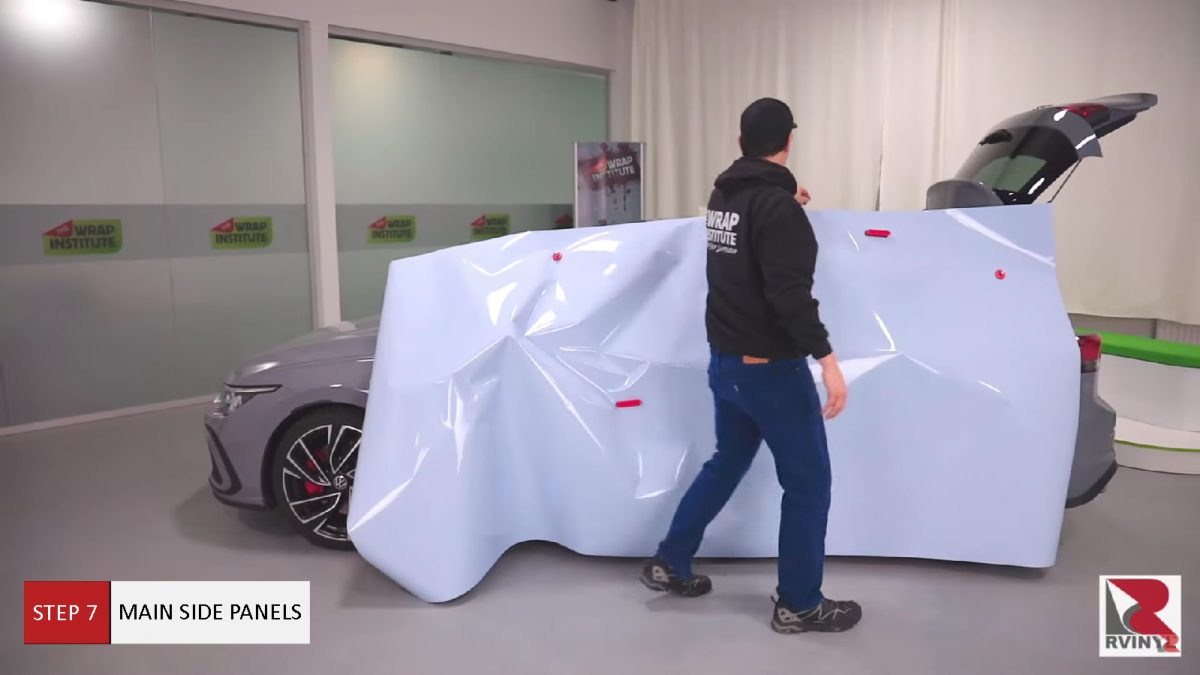
Prior to installation, apply a mixture of water and soap to the film to facilitate its positioning. - Placing the Film:
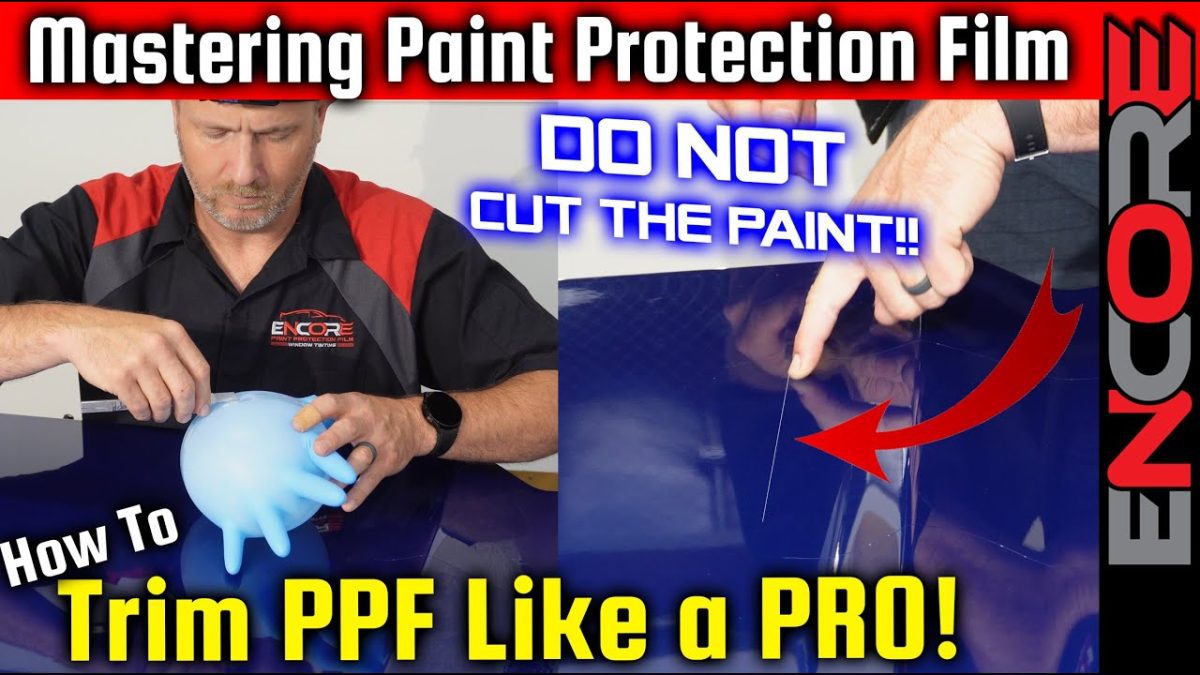
Carefully position the film on the car’s surface. Use a specialized squeegee to eliminate any air bubbles. - Adjusting and Finalizing:
If necessary, trim any excess film and make adjustments to ensure a smooth, bubble-free installation.
4. Tools and Equipment Needed
For a professional PPF installation, you will need the following tools and equipment:
- Specialized PPF Squeegee:
For smoothing the film and removing air bubbles. - Soap and Water Spray:
To facilitate the placement of the film. - Scissors and Precision Cutting Knife:
For accurately cutting the film. - Microfiber Cloth:
For cleaning and wiping the surface. - Heat Gun (Optional):
In some cases, a heat gun is used to help the film conform better to the car’s curves.
5. Professional Tips for Installing and Maintaining PPF
- Precise Measurements:
Accuracy in measuring and cutting the film prevents issues such as bubbles or wrinkles. - Clean Working Environment:
Working in a dust-free environment significantly improves the quality of the installation. - Initial Testing:
Test a small area of the car before proceeding with full installation to ensure the method is correct. - Regular Maintenance:
Regular cleaning with mild detergents and avoiding ammonia-based products will enhance the durability of the PPF.

6. Educational Resources and YouTube Channel
For video tutorials and to watch the installation process in practice, please visit our educational YouTube channel. The channel includes step-by-step videos, technical tips, and professional experiences in installing and maintaining PPF.
YouTube Channel: Car PPF Training Academy
https://www.youtube.com/@EncorePPFtint